 Powered by
 Step 1: Make a Marble Machines board
A Marble Machine is a creative ball-run contraption, made from familiar materials, designed to send a rolling marble through tubes and funnels, across tracks and bumpers, and into a catch at the end.
In this activity guide, you'll learn how to build a pegboard panel that will allow you to experiment with a variety of household materials to build elaborate marble runs. Once you have the basic board built, you will get hours of play out of it, and you will be able to try more ambitious ideas.


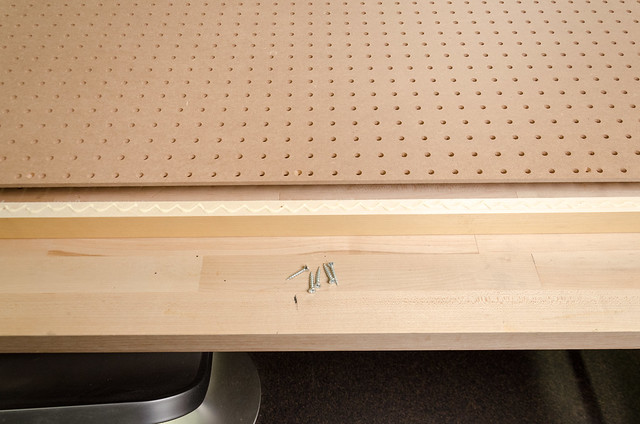
Step 2: Materials
This project requires some materials, easily obtainable from your local hardware store. You will need:

- 2 sheets of pegboard - 2 feet x 4 feet
- 2 lengths of wood - 1 in x 2 in x 4 feet (vertical spacers)
- 3 lengths of wood - 1 in x 2 in x 22.5 in (horizontal spacers)
- wood glue (optional but recommended)
- wood screws
- power drill
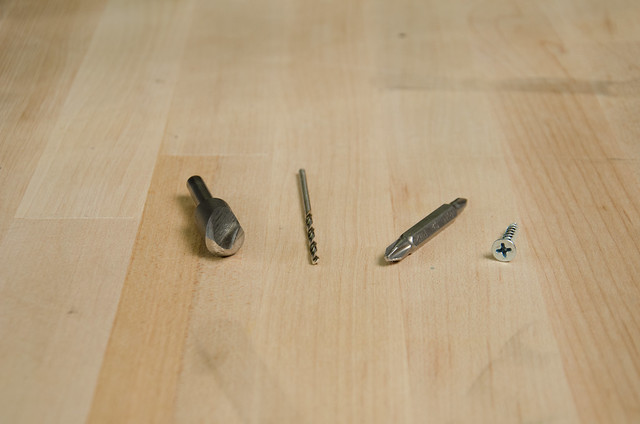
- drill bit and driver bit
- countersink bit (optional)
- 1/4 in dowels (you will use these pegs for alignment)
- a friend (recommended)
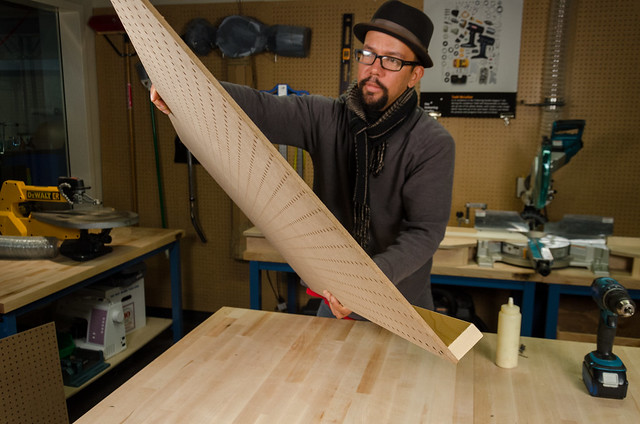
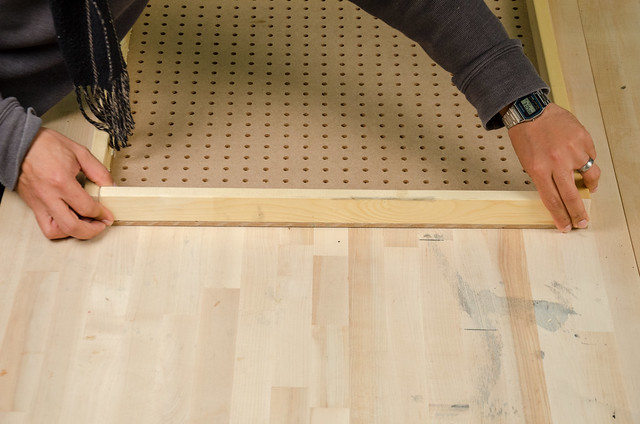
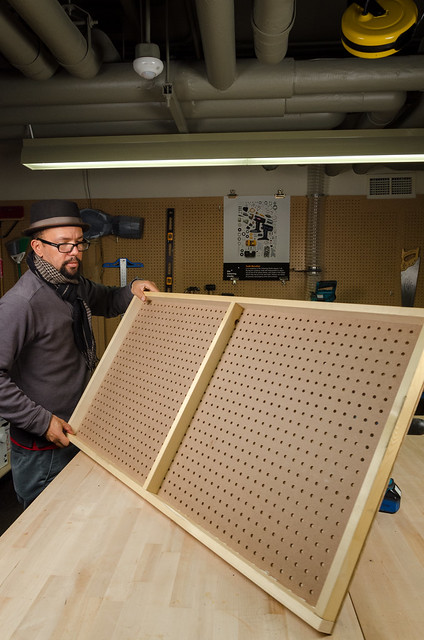
Step 3: Align pegboard and vertical spacers
Set one of the pegboard panels on top of the two long vertical spacers. Do this with both spacers at once to keep the panel level. Make sure edges and sides of the spacers are flush with the panel. Just running your fingers along the edge will do the trick.
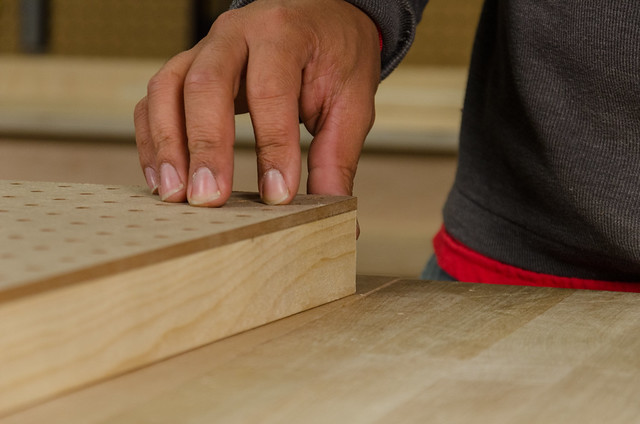
Tip: Long pieces of wood are often slighted curved. This is not a problem, as they can be straightened when fastening them to the pegboard, but make sure the are flush on one end to start, and straighten them as you work your way along.

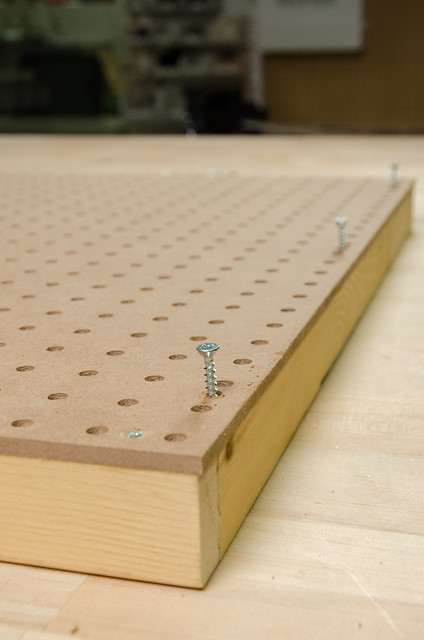
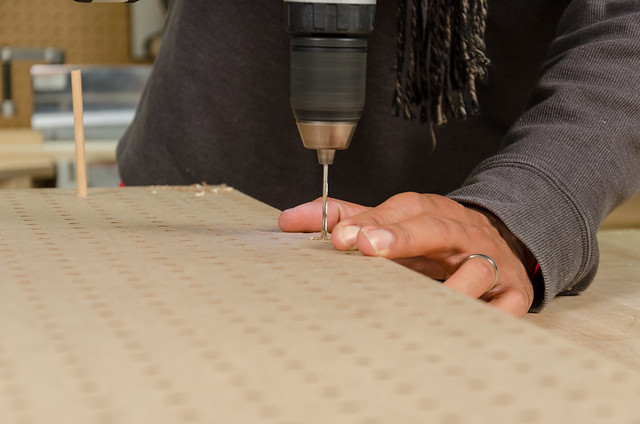
Step 4: Pre-drill pegboard and vertical spacer
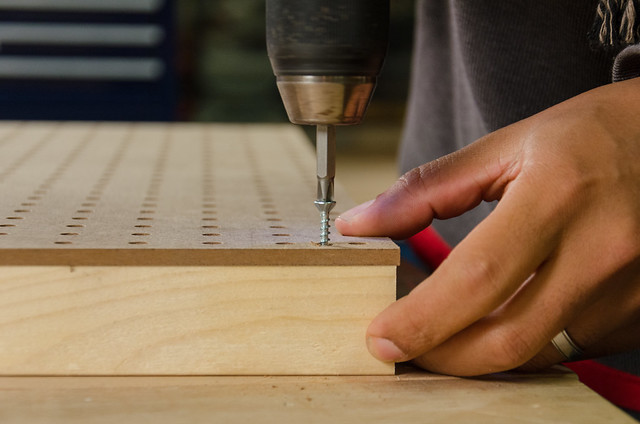
- Once your spacers are aligned and flush, you'll pre-drill all your screw holes to avoid splitting the wood with screws. Start at one end, and drill a small hole where the first screw will go.
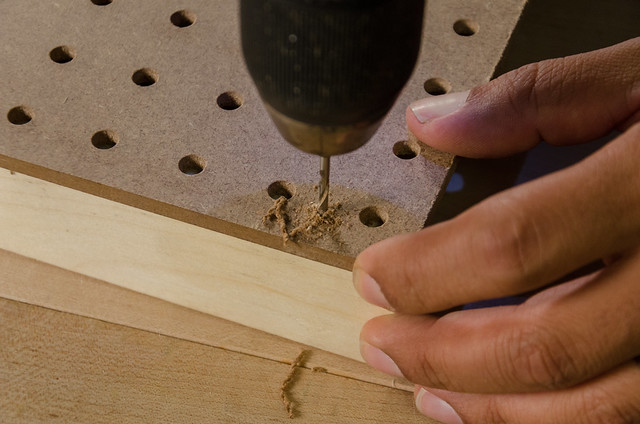
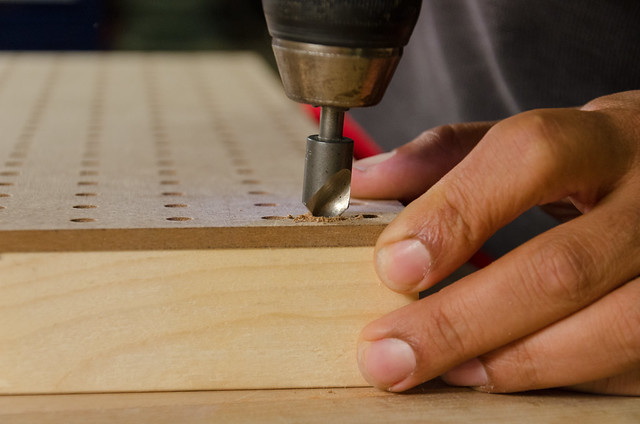
Tip: If you want your board to look extra slick and have all the screws be flush, you can use a countersink bit to make room for the screw heads. Now is the time to do so.
- Put the first screw in to tack one end in place while you pre-drill the rest. If you plan on using glue, don't put the rest of the screws in yet. If you're skipping the glue, feel free to add screws as you go along.
- Pre-drill every 6 inches or so down the length of the board. If you notice the spacer is warped or bent, pull or push it flush with the edge of the board as you go. This will help keep things aligned when you permanently attach the board to the spacers.

Step 5: Attach spacers
- If you've decide to use wood glue, lift the board off the spacers, and apply glue all the way down the one you pre-drilled. Use a wavy pattern for better coverage and style. If you've decided not to use glue, you can leave the board in place.

- Put the board on top of the spacers again, and drive screws in the holes you pre-drilled. The screws should find the pre-drilled holes and line everything up nicely!
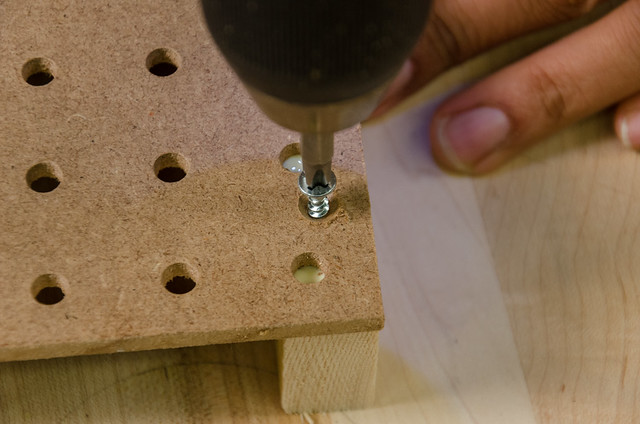
It's normal for some glue to squeeze out; use a damp cloth to wipe it up (your finger will also work in a pinch).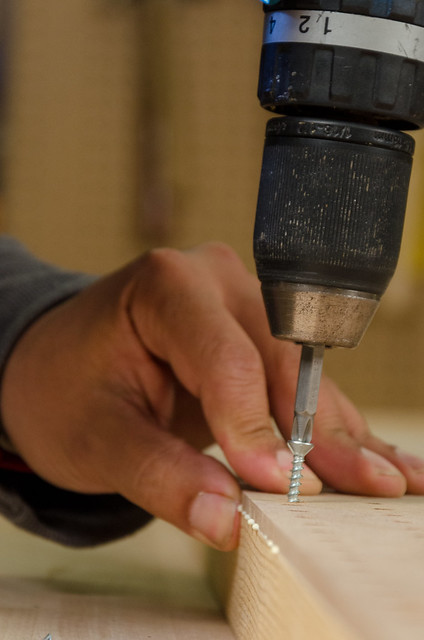
- Repeat the whole process with the other vertical spacer.

Step 6: Place the horizontal spacers
- Next, you will add horizontal spacers to your board. These provide structural integrity and prevent the pegboard panels from bowing inward.
- Flip your board and put a horizontal spacer on each end and one in the middle. Take care to place the middle spacer so it doesn't block any of the holes.

- If the fit is tight, the spacers will stay in place. If not, use masking tape to keep them in place.
- Flip the board over again and pre-drill, countersink (optional), and screw the horizontal spacers in place.


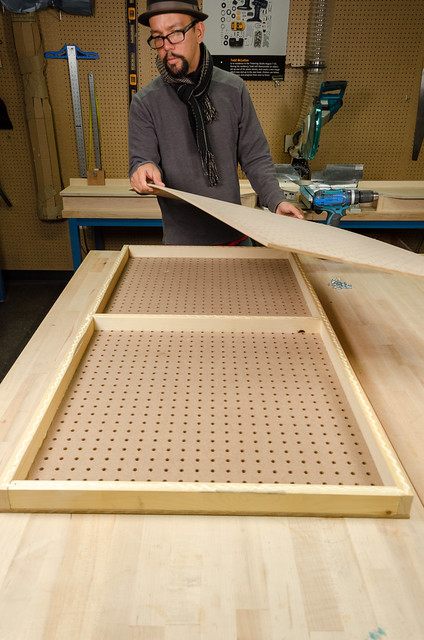
Step 7: Add the second pegboard panel
- Flip your board over again.
- Place the second pegboard panel on top.
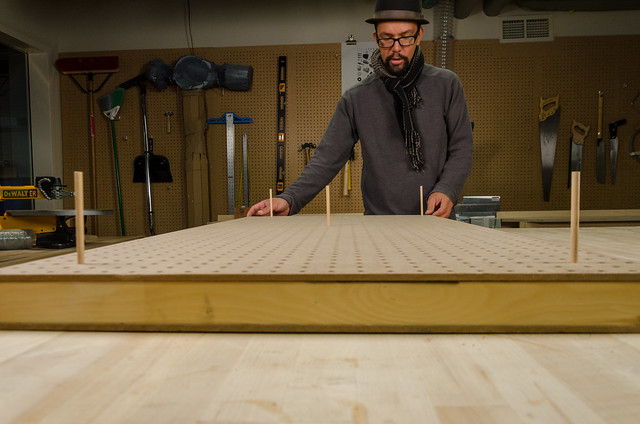
- Use at least three dowels to align the holes in the top panel with the one on the bottom. It is important to make sure the dowels will stick straight out when you're building your marble run.


- Stick dowels through both sets of holes, and visually check that they are vertical. Often, fixing a dowel in one spot will make others lean; keep adjusting until they are all as close to vertical as you can get. It doesn't have to be perfect, close is good enough.
- Now you're ready to pre-drill and countersink (optional) the whole panel. Don't forget to pre-drill the horizontal spacers too, including the one in the middle, which is now hidden.
- If you're not using glue, you can screw the panel in now. If using glue, lift it off, apply glue, and replace it before screwing it in.


Tip: Sometimes it's helpful to use dowels again to confirm the panels are aligned before screwing it together.
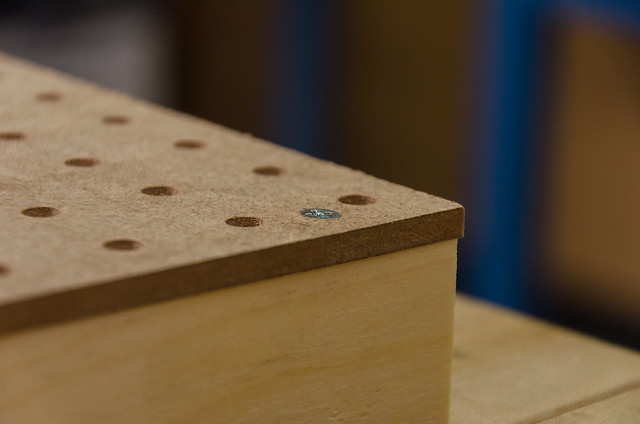
Step 8: Your board is nearly done.
Take a moment to be proud of your board. The hardest part is done. When you're ready, move on to the next step: make feet so your board can stand on its own.

Step 9: On your feet!
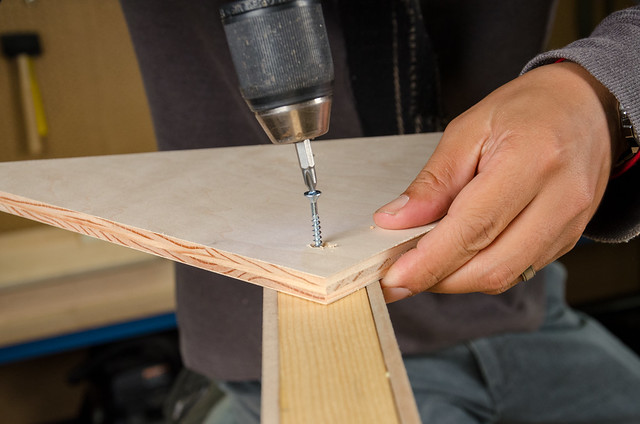
- Find or cut a piece of plywood that measures about 15 inches square. Draw a line from corner to corner and cut the square into two equal triangles (feet).
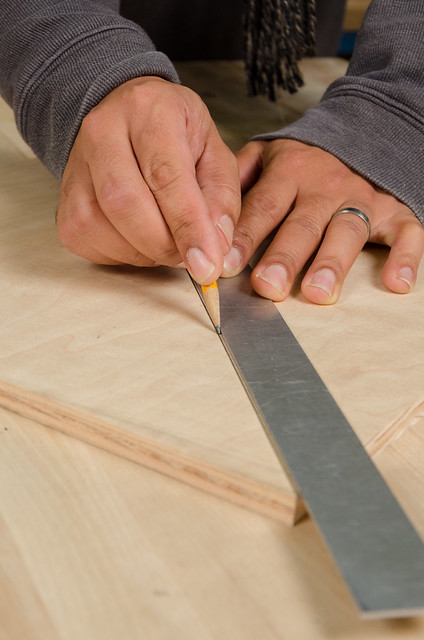
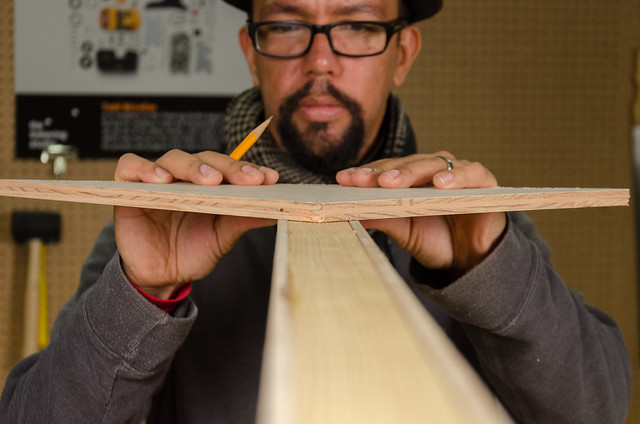
- Locate the center of the long side of each triangle and mark it. If you draw a line with a ruler from this mark to the point on the other side you'll have a nice centerline.
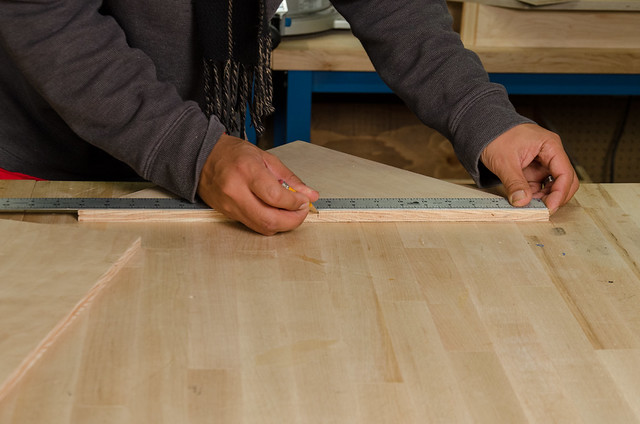
- Decide which side of your marble board you want to have as the bottom. Use the centerline on one of your feet with to center it on the edge of your board.
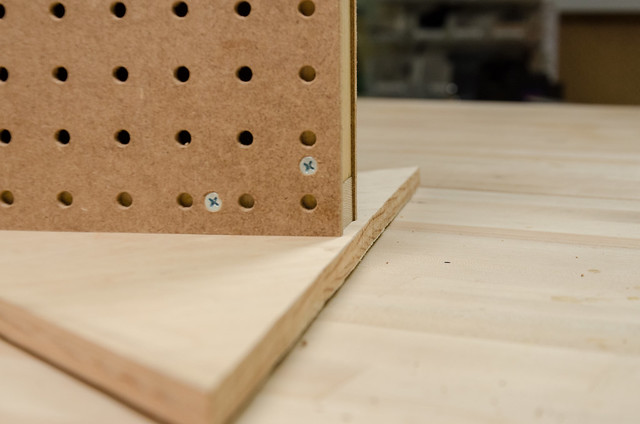
- Instead of making the foot flush with the bottom, make it stand out, or "proud," by 1/4 inch. This will make your board much more steady, particularly if the floor isn't perfectly flat.
- You should pre-drill, and countersink (optional), and screw in one of the feet. Then flip the board and repeat with the other side.
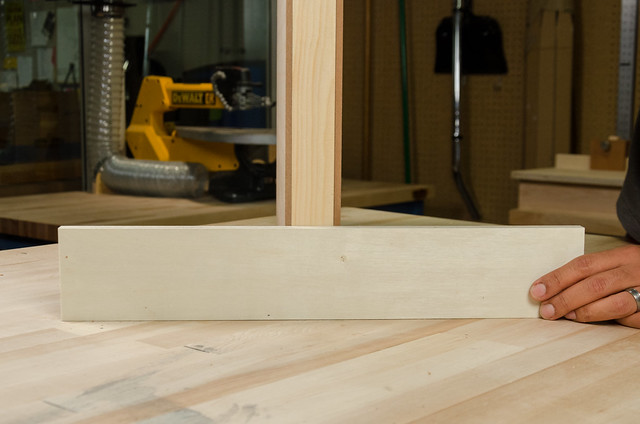
Tip: This is a great time to have a friend helping because it's tricky to keep the board steady when it's standing on end and you are trying to drive screws into it. - A quicker and easier way to make feet is to use a straight piece of wood about 18 or 20 inches long, and screw that in place. It won't be as durable as the triangle feet but it will work. Remember to keep it "proud" of the bottom by 1/4 inch.
Step 10: Hooray! A Completed Marble Board Masterpiece
Congratulations, you are done!

This is just one way to build a marble board. We find it works well for us. There are plenty of other ways that will also work: the size of the pegboard and spacers can change, the feet can change, the edge can be routed, or finished with end caps, or left rough. The important thing is gaining an understanding of why it's built this way, then you can transfer your knowledge into other designs.
First things first though: start making some marble runs! As you do you'll start to understand the wonders and the character of your board and you can make changes to suit your needs. Now that you know how to build a Marble Board, make sure to teach someone else!
Enjoy making Marble Machines on your new marble board!


License: Attribution-NonCommercial-ShareAlike.

